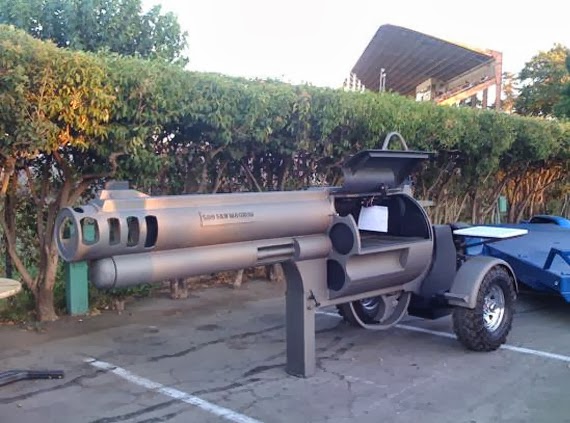
My kinda GRILL!
SAFETY FIRST
Always keep the grill at least two feet from any combustible material or structure, such as your house, garage or deck/rails. NEVER use a grill indoors (they suck up oxygen and charcoal emits carbon MONOXIDE) or under a covered patio.
Never add lighter fluid to lit fire/coals.
Never use a grill that wobbles, leans or is otherwise unstable.
Never spray or brush cooking oil on a hot cooking grate – oil the food instead.
Don’t wear loose or highly flammable clothing when grilling – always use heat-resistant barbeque mitts and long-handled tools when tending to the fire or the food on the fire.
Keep a fire extinguisher handy – and never pour water on a grease fire. Instead, cover the grill with the lid and cut off the source of fuel, such as the gas.
Never allow children or pets near a hot grill. (duh)
MASTERING FIRE (a/k/a/ - cranking up that caveman gene)
Managing the heat inside a gas grill is fairly straightforward – just lift the lid, open the valve on the top of the tank, turn the knob a time or two, and push a button. The temperature is easily adjusted from there.
When it comes to charcoal, you need to be a bit more savvy. The opportunity to show off your mastery of fire is one of the advantages of cooking with charcoal.
What is charcoal? If you burn hardwood in a kiln with very little air, charcoal is that lump of black stuff left in the bottom. What you find in bags in stores are ‘briquettes’ and contain fillers – not true charcoal. Solid hardwood charcoal briquettes are your best bet but I defy you to find them! Briquettes don’t burn as long as lump charcoal but they are cheaper. AVOID BRIQUETTES MADE WITH LIGHTER FLUID (Matchlight) – you will get the flavor of the chemicals in whatever you cook.
The easiest way to get your charcoal ready is to have a Weber Performer Grill – I have one and I love it! You put the briquettes in a pair of ‘D’ shaped baskets, push a button to ignite a gas flame, and *clink* until the coals are lit. Then turn off the gas and cook!
The second best way is to use a chimney type lighter – newspaper in the bottom – coals on top – strike a match, and when they are lit, pour them in to the grill. Remove the cooking grate from your grill and set the chimney on the charcoal grate below. Takes about 20 minutes for the coals to be glowing red. Be sure to wear your mitts when dumping the coals (and set the chimney on something like concrete to cool – again, away from kids and pets).
One other way, which isn’t my fav at all – is to light a few paraffin cubes in the bottom of the grill and build a pyramid of coals over them – when the coals glow red, they’re ready.
Use the bottom vents to adjust the heat – the more oxygen the hotter the fire.
Test the temperature of the grill to make sure it is at the right temperature for your meat. The grill is at low heat (225 to 250° F) if you notice a thick ash covering and light orange coals. If you hold your hand 4 inches over the coals, you should only be able to stand the heat for 11 to 14 seconds. For medium heat (325 to 350° F), the coals will be a glowing orange, and you should only be able to hold your hand 4 inches above the coals for 6 to 8 seconds. At high heat (450 to 650° F), the coals will be bright orange and you will only be able to stand the heat for 2 to 3 seconds.
A really NICE grilling accessory is a LARGE instant read thermometer for cooking to the perfect temperature. This one has a 4" probe and is about $10.
https://www.amazon.com/dp/B01MQNSTS4?aaxitk=e51Jc2BgL-sXpg7yA8m38Q
A really NICE grilling accessory is a LARGE instant read thermometer for cooking to the perfect temperature. This one has a 4" probe and is about $10.
https://www.amazon.com/dp/B01MQNSTS4?aaxitk=e51Jc2BgL-sXpg7yA8m38Q
Things that cook fast (burgers, steaks, etc.) are cooked over direct heat, meaning the meat is directly above the coals. INDIRECT cooking is for larger cuts of meat, such as turkeys or chickens (see my earlier recipe for grilling turkeys – it’s to die for!)
Create different grilling zones in your BBQ by raking the coals around. One thin layer of coals over the entire grate will create only one overall grilling temperature. You can create three different zones by raking a double layer of coals over one-third of the grill, covering one-third with a single layer and leaving the last third bare. This is ideal for meat that needs to be cooked at different temperatures throughout the cooking process. (Or if you are cooking steaks for folks who all want them cooked to THEIR liking.)
Before turning in for the night, place your hand on the bottom of the grill – it should be cold to the touch.
And I'm sure most rural grill cooks know this.... but if your grill has a little bucket thingy that catches grease as stuff cooks, don't leave THAT outside overnight. Local animals like dogs will get into it and it will make them.... sick as a dog. Raccoons are even worse - they will eat the grease, track greasy footprints all over everything - and poop on whatever is around!
And I'm sure most rural grill cooks know this.... but if your grill has a little bucket thingy that catches grease as stuff cooks, don't leave THAT outside overnight. Local animals like dogs will get into it and it will make them.... sick as a dog. Raccoons are even worse - they will eat the grease, track greasy footprints all over everything - and poop on whatever is around!
Happy and safe grilling!
No comments:
Post a Comment